From Concept to Code- Creating Your Ideal Admin Template
In today’s digital world, admin templates are essential tools for developers. They streamline backend management, enhance user experience and save valuable development time. This blog post will guide you through the process of creating the ideal admin template, from initial concept to final code.
BUY NOW
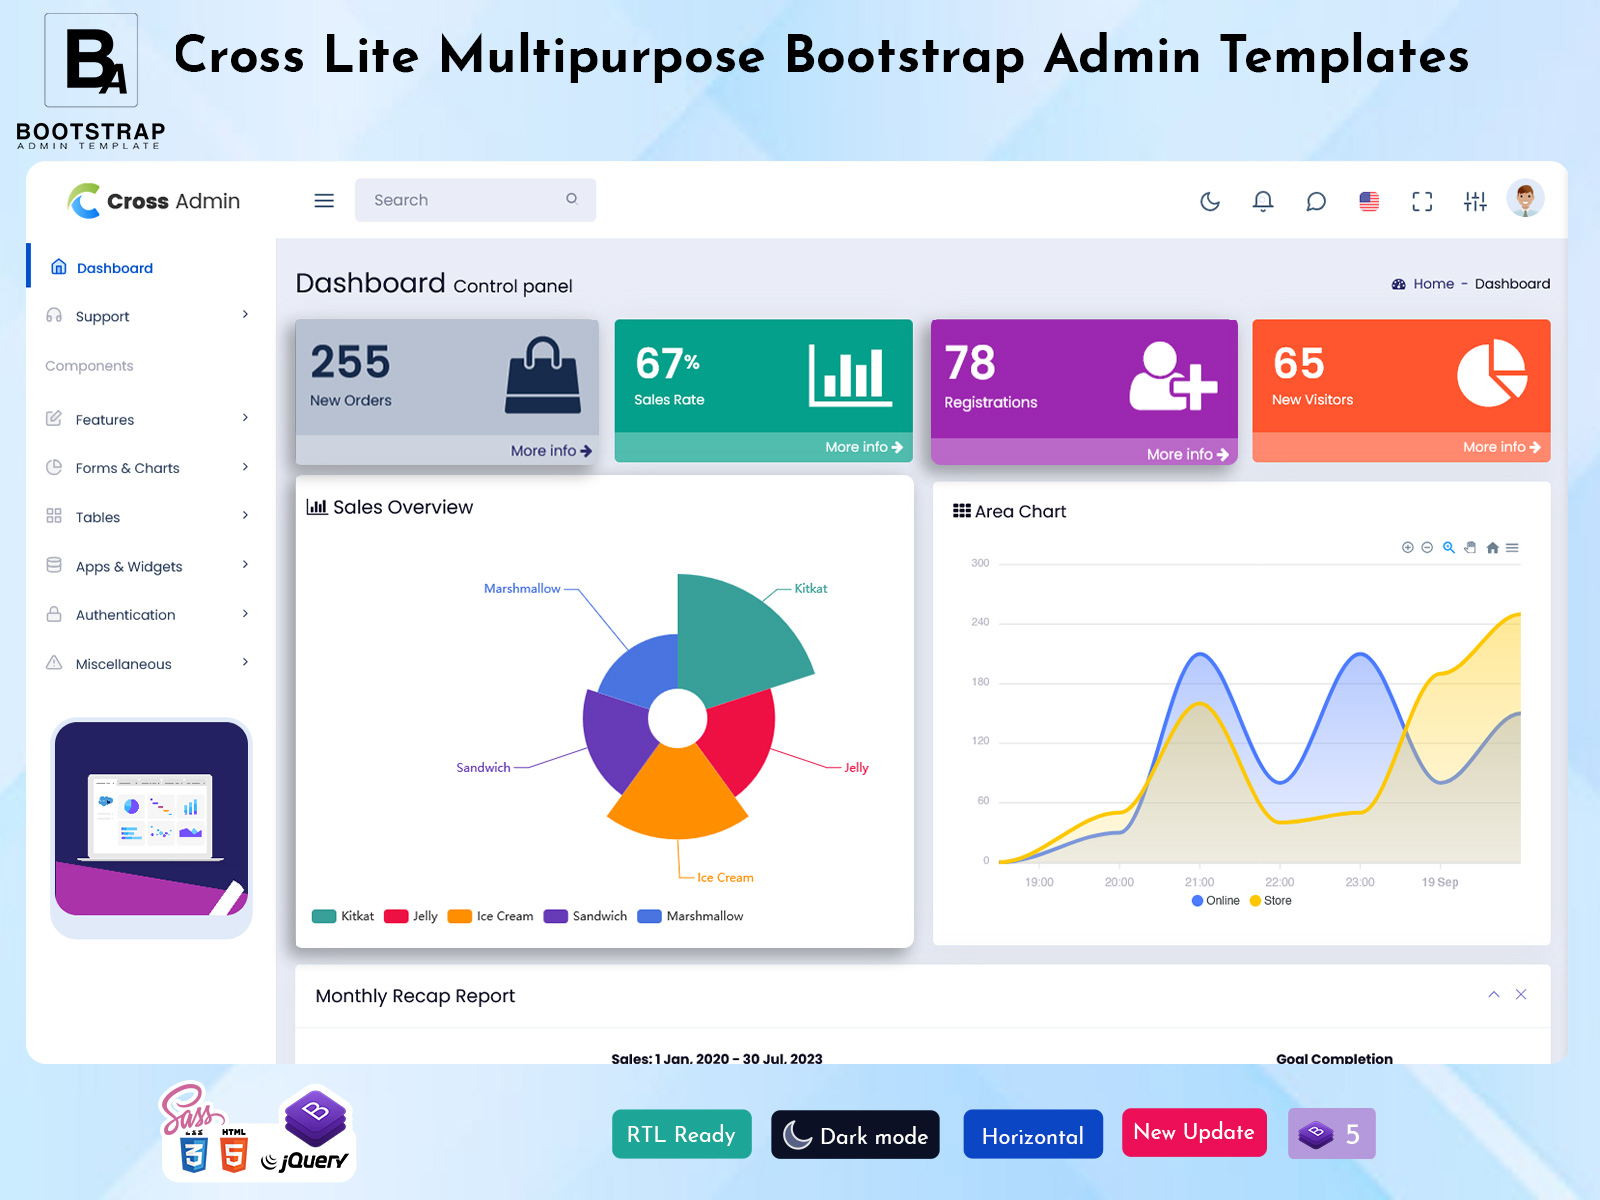
Cross Lite Admin
Understanding Admin Templates
Before diving into the creation process, let’s clarify what an admin template is. The Bootstrap Admin Template is a pre-designed web interface that helps manage and visualize backend data efficiently. It typically includes dashboards, charts, tables, and forms that allow administrators to perform tasks seamlessly.
Why use an admin template?
Admin templates offer many benefits. First, they save time by providing ready-to-use frameworks, allowing developers to focus on functionality rather than design. Second, they ensure a uniform look and feel across applications, improving usability. Finally, many templates are designed to be mobile-friendly, which is crucial for users accessing admin panels on different devices.
Dashboard of Cross Lite Admin
MORE INFO / BUY NOW DEMO
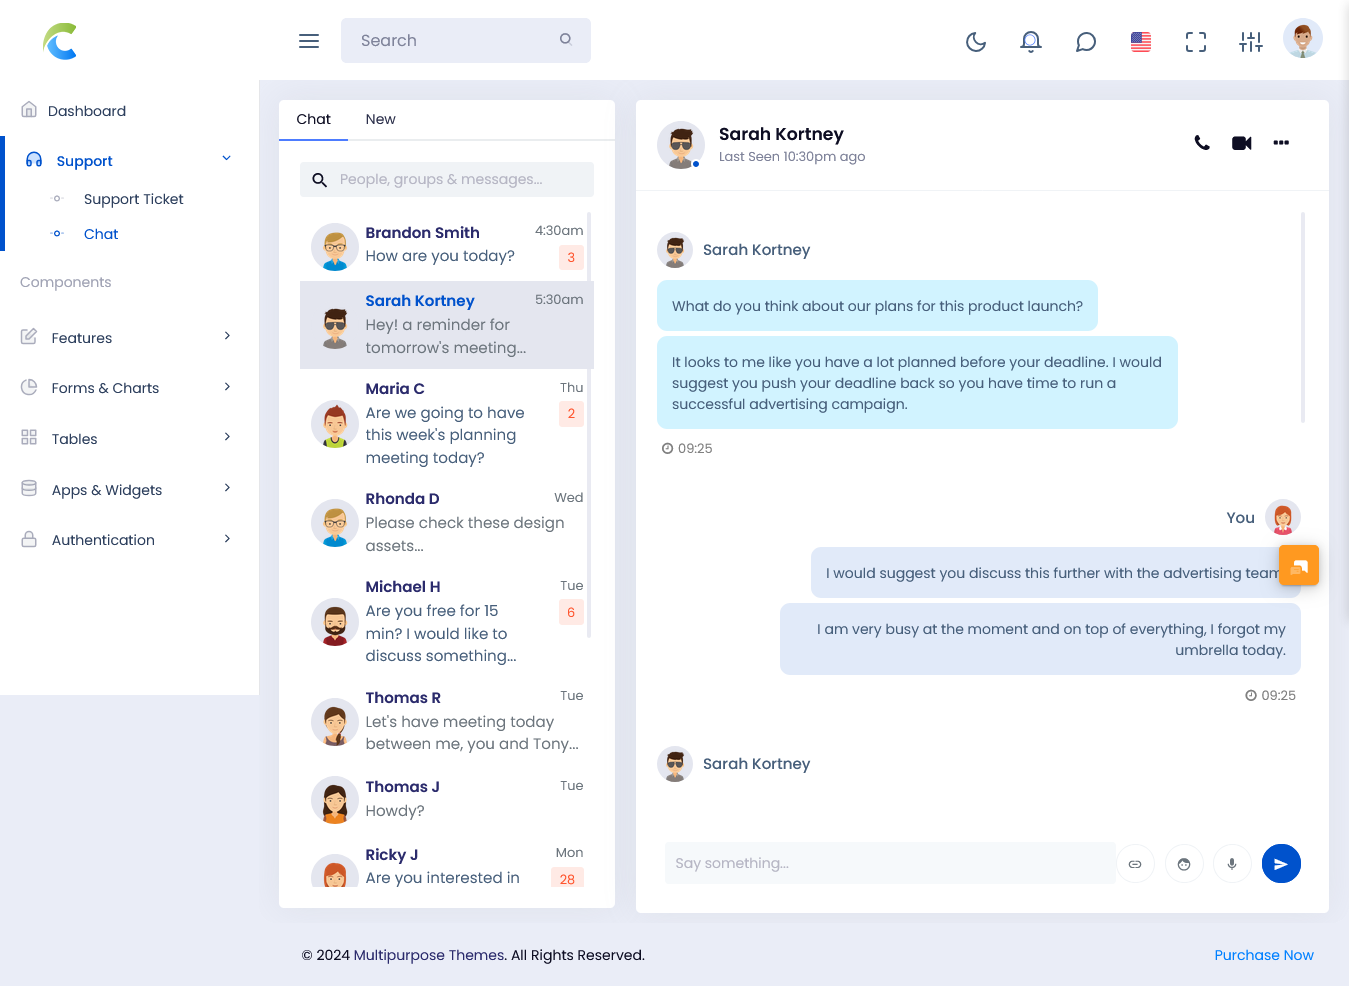
Chat Page of Cross Lite Admin
MORE INFO / BUY NOW DEMO
Step 1: Define your requirements
The first step in creating your ideal Bootstrap Admin Template is to define your requirements. Ask yourself what features you need, considering functionality such as user management, analytics or reporting. It’s also important to understand your target audience – are they tech users, or do they need a more intuitive interface? Additionally, determine what types of data your admin template will handle, as this will influence your layout and design choices.
Step 2: Research and inspiration
Once you have a clear understanding of your needs, it’s time to gather inspiration. Browse through the existing admin templates to see which features and designs appeal to you. Websites like ThemeForest, Bootstrap and Dribbble can be great sources of inspiration. Pay attention to layout, color schemes and typography. A clean, well-structured layout enhances usability, while a harmonious color scheme and readable fonts contribute to a positive user experience.
Step 3: Wireframing
Before diving into coding, create a wireframe of your Dashboard Template. A wireframe is a simple visual representation of a layout, which helps you organize elements such as navigation bars, dashboard layouts, and forms. Tools like Figma, Sketch, or even pen and paper can help you create a wireframe. This step allows for easy adjustments before moving on to the coding phase, ensuring that your layout is both functional and user-friendly.
Step 4: Choose your technology stack
Choosing the right technology stack for your admin template is important. Consider your frontend framework; Popular choices include Bootstrap, Tailwind CSS, and Materialize, which simplify responsive design and come with pre-built components. For dynamic features, JavaScript libraries like jQuery or React can help manage user interactions easily. Also, decide how your template will connect to the backend, whether it’s through a REST API, GraphQL, or a direct database connection.
Step 5: Start coding
With your requirements defined, a wireframe created and a technology stack chosen, it’s time to start coding. First, set up your project by creating a new directory and starting with a package manager like npm or yarn. Organize your files into folders (eg, CSS, JS, images) for better maintenance. Start with HTML structure using semantic HTML for improved accessibility and SEO. Then, apply the styles using CSS, using your chosen frontend framework. Implement JavaScript for interaction and connect your template to the backend, ensuring data flows seamlessly.
Step 6: Test and Iterate
Testing is crucial to ensure your Dashboard Template functions as intended. Focus on usability testing by having real users navigate your sample to identify any pain points or confusion. Check for cross-browser compatibility to make sure it works well on different browsers like Chrome, Firefox and Safari. Finally, test responsiveness on different devices to make sure it adapts well to different screen sizes. Collect feedback and make necessary adjustments, as this iterative process is critical to refining your admin template.
Step 7: Documentation
Once your Premium Admin Template is complete, create the documentation. Good documentation is essential for both you and future users. Include installation instructions, feature descriptions explaining how to use each component, and a customization guide that provides tips for modifying the template to suit users’ needs.
conclusion
Building your ideal admin template from concept to code can be a rewarding process. By defining your requirements, gathering inspiration, wireframing, choosing the right technology, and rigorously testing your work, you can develop a functional and visually appealing admin interface. Remember, the key is to prioritize usability and functionality. Happy Coding!


